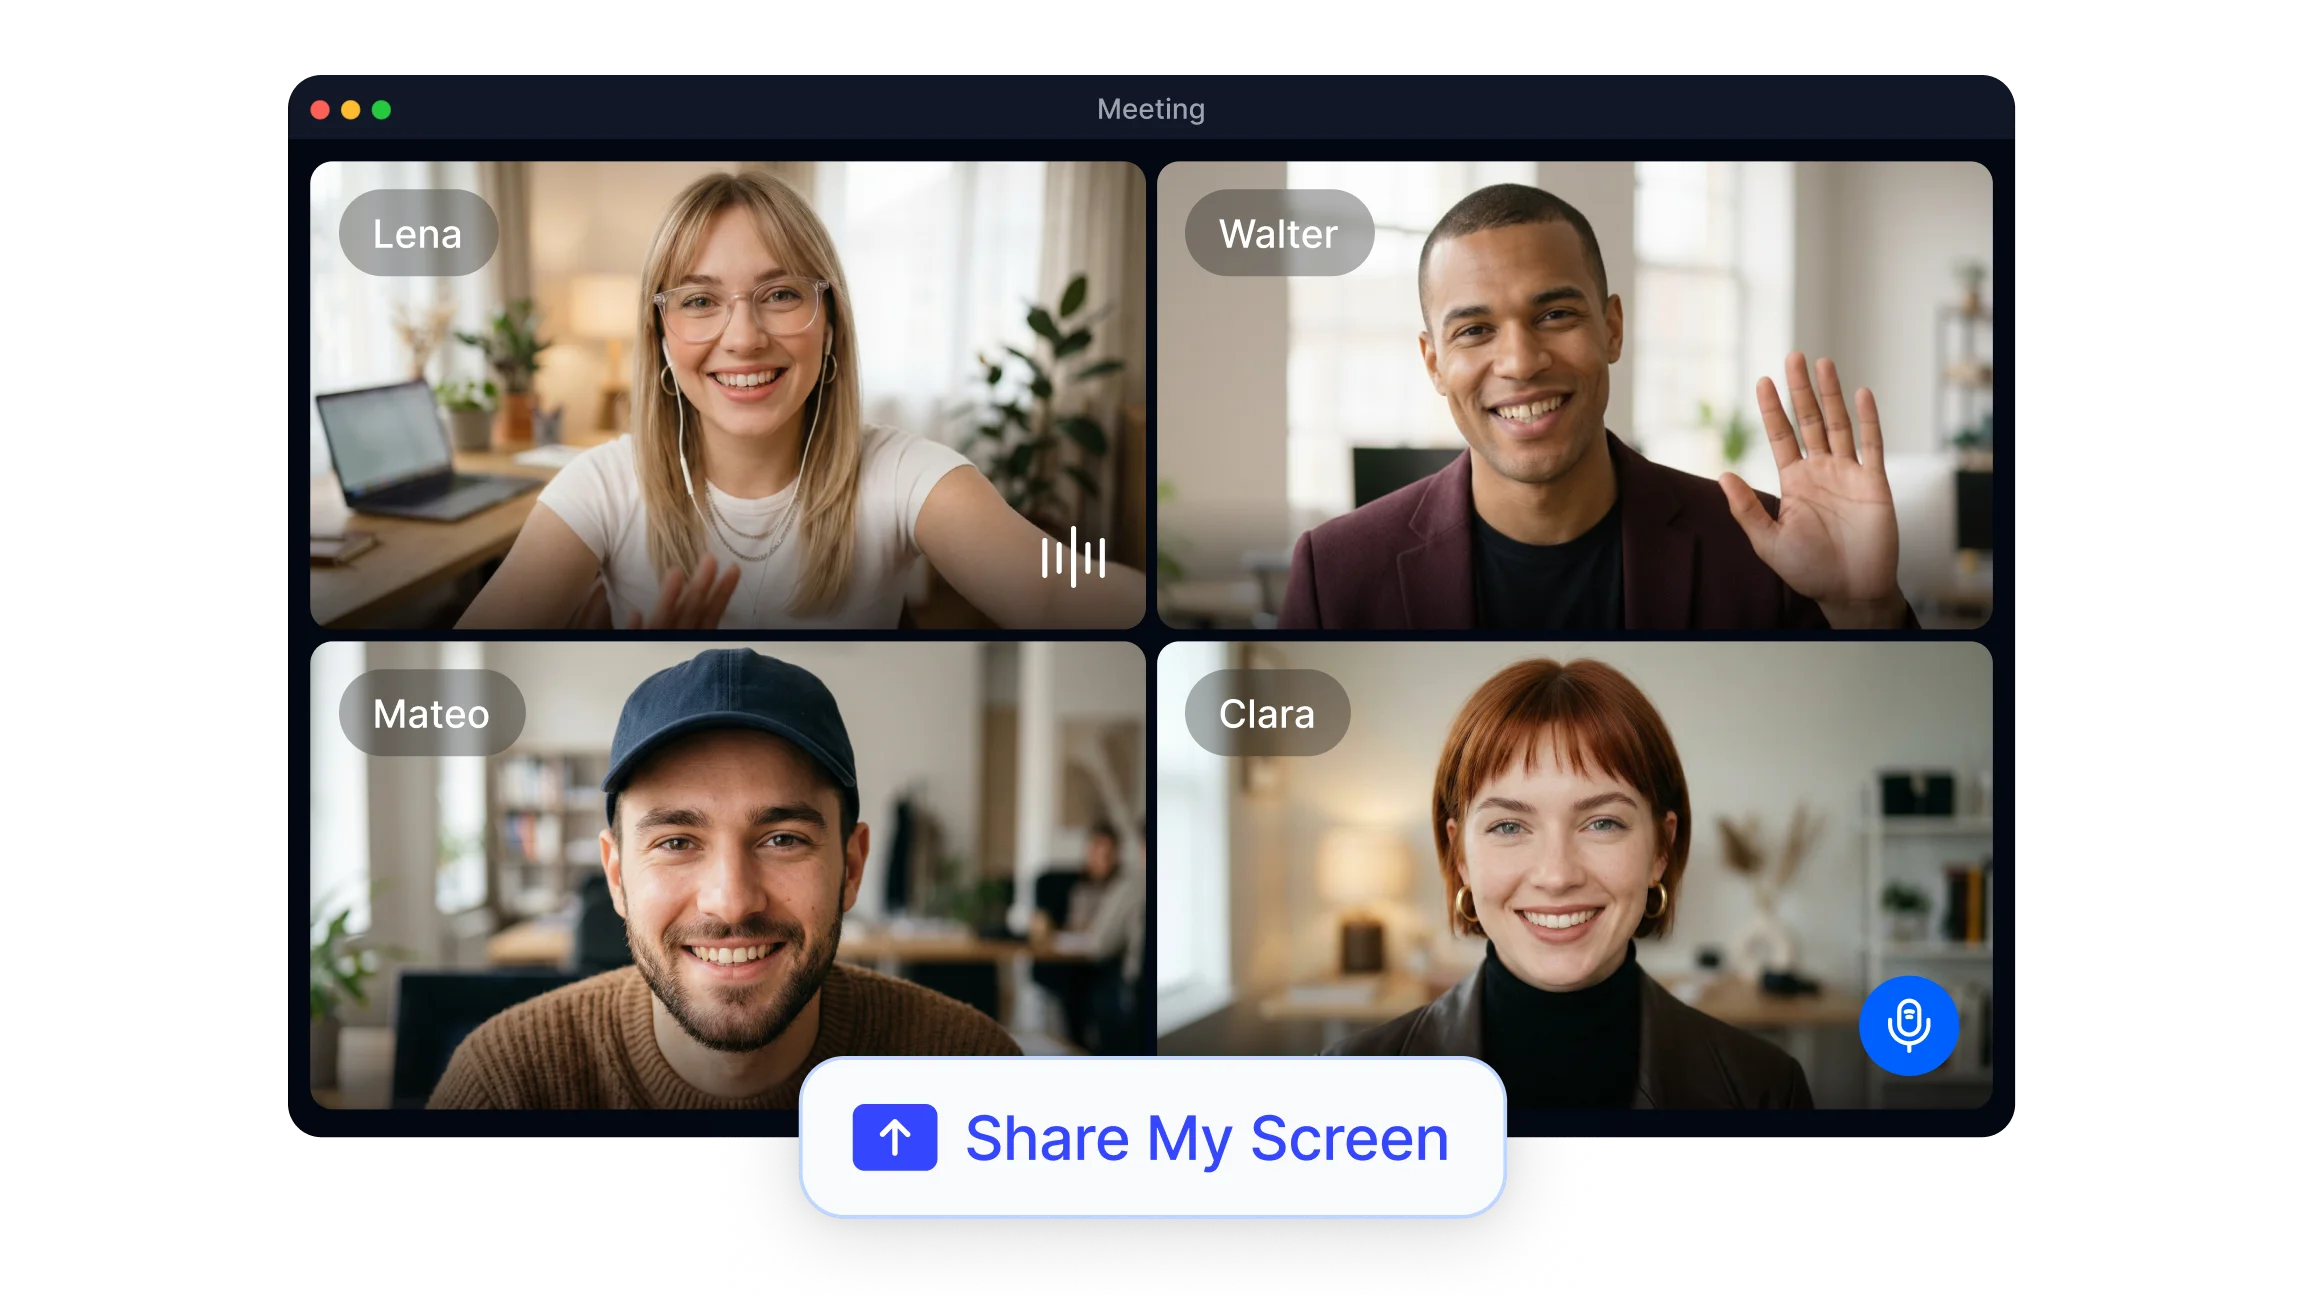
How to Share Your Screen on Zoom?
Screen sharing in Zoom is initiated from the meeting controls toolbar at the bottom of the meeting window. The host can share by default, and participants can share if the host has enabled it.
Desktop (Windows and macOS)
Join or start a Zoom meeting.
Click the green Share Screen button in the meeting controls at the bottom center of the window.
A dialog box opens with sharing options. Choose one of the following:
Screen or Desktop: shares your entire display. Everything visible on your monitor is shown to participants, including the taskbar and any open windows.
Window: shares a single application window only. Participants see only that application, not the rest of your screen.
Advanced or Portion of Screen: shares a selected portion of the screen rather than a full window or display.
Chrome tab: available when using Zoom through the Chrome browser, this shares a specific tab.
If you are playing a video or audio during the presentation, check Share sound (Windows) or Share computer sound (macOS) at the bottom left of the dialog before clicking Share.
If you are sharing a video clip, also check Optimize for video clip to improve playback quality.
Click the blue Share button to begin sharing.
A floating toolbar appears at the top of your screen while sharing. Use it to pause sharing, annotate, or stop sharing.
Click Stop Share in the red toolbar at the top of the screen when finished.
Mobile (iPhone and Android)
Open the Zoom app and join the meeting.
Tap Share in the meeting controls bar at the bottom.
Select Screen from the options shown.
On iOS, tap Start Broadcast when prompted to begin the system-level screen share.
On Android, grant screen capture permission when the system prompt appears.
Tap Stop Share in the Zoom controls to end the session.
Zoom Screen Sharing Options: Entire Screen vs Window vs Tab
Choosing the right sharing option affects what participants see and how cleanly the content displays. Each option has a specific best use case.
Entire screen shows everything on the display in real time. This is the most flexible option and works well when switching between multiple applications during a presentation. The downside is that any notification, desktop icon, or open file is visible to all participants.
Window shares only one application, such as a presentation tool, browser, or document editor. Participants see only that window, regardless of what else is open. This is the recommended option when privacy matters or when the presentation stays within a single application.
Browser tab is available in Zoom when joining via a Chrome browser. It shares a specific tab and can include tab audio, making it the preferred option for playing web-based videos or streaming content to participants.
Advanced options in Zoom also include sharing a portion of the screen using a resizable frame, sharing a second camera or document camera, and sharing a whiteboard. These appear under the Advanced tab in the share selection dialog.
Zoom Screen Sharing Settings, Permissions, and Host Controls
Host and participant sharing permissions are managed through Advanced Sharing Options in the Zoom meeting.
To allow participants to share: the host clicks the upward arrow next to the Share Screen button, selects Advanced Sharing Options, and sets Who can share to All Participants.
To restrict sharing to the host only: set Who can share to Host Only in Advanced Sharing Options.
If you are not the host and cannot share: request permission from the host verbally or via chat, or ask to be made a co-host.
Fixing screen sharing permission errors:
On macOS: go to System Settings > Privacy and Security > Screen Recording, add Zoom to the list, and enable access. Restart Zoom after making this change.
On Windows: check that Zoom has screen capture permissions in app settings and run Zoom as administrator if sharing fails.
When using Zoom in a browser: allow the screen sharing prompt when it appears and ensure the browser has not blocked the permission.
If Zoom shows a black screen when sharing: update Zoom to the latest version, disable hardware acceleration in Zoom settings, or restart the application.
How to Share Your Screen on Google Meet?
Screen sharing in Google Meet is controlled through the Present now button, which appears in the meeting controls at the bottom of the window.
Desktop (Chrome and Edge)
Join a Google Meet session.
Click the Present now button at the bottom of the meeting window. It appears as a square with an upward arrow.
Choose one of three options:
Your entire screen: shows everything on the display. Participants see all visible content including the taskbar and open applications.
A window: shares a specific application window. Only that window is visible to participants.
A tab: shares a single browser tab. This option also includes a Share audio toggle at the bottom, which should be enabled when sharing video or audio content.
Select the specific screen, window, or tab you want to share.
Click Share to begin presenting.
A green border appears around the shared content to confirm sharing is active.
To stop: click Stop presenting at the top right of the screen, or return to the Meet window and select You are presenting > Stop presenting.
Mobile (iPhone and Android)
Open the Google Meet app and join the meeting.
Tap the three-dot menu in the bottom right corner.
Select Share screen or Present screen from the menu.
On iOS, confirm the system broadcast prompt to begin.
On Android, grant screen capture permission when prompted.
Tap Stop sharing when finished.
How to Share Screen with Audio on Zoom and Google Meet?
Sharing audio alongside screen content requires an additional setting on both platforms. Without enabling audio sharing, participants hear only the presenter's microphone and not sounds coming from the computer.
On Zoom:
Before clicking Share, check the Share sound checkbox at the bottom left of the share selection dialog. On macOS, this may appear as Share computer sound. This routes system audio through the meeting so participants hear video playback, music, or other audio output from the computer.
For video content specifically, also check Optimize for video clip in the same dialog to improve the smoothness of video playback for participants.
If audio is not coming through after enabling Share sound, check that the correct audio output device is selected in the system sound settings. On macOS, the Zoom Audio Device may need to be set as the output device for system audio to route correctly.
On Google Meet:
When sharing a tab, a Share audio toggle appears in the lower portion of the tab selection dialog. Enable this toggle before clicking Share to include audio from that tab. Tab sharing with audio is the most reliable method for sharing video or music through Google Meet.
When sharing a window or the entire screen on Google Meet, system audio sharing availability depends on the browser and operating system. Chrome on Windows typically supports it; Chrome on macOS does not include system audio when sharing a window or full screen. Sharing a tab with audio enabled is the consistent option that works across systems.
Google Meet Screen Sharing Issues and Fixes
Permission denied or unable to share: On macOS, go to System Settings > Privacy and Security > Screen Recording and add the browser to the allowed applications. On Windows, allow screen capture permissions in browser or system settings and update the browser to the latest version.
Participants cannot see the shared screen: Confirm that the Share or Present button was clicked after selecting content. Check that the network connection is stable, as high latency can delay or drop the video stream for participants.
Audio not coming through: When sharing a tab on Google Meet, enable the Share audio toggle in the tab selection dialog. If sharing audio from a window or the full screen, switch to tab sharing and enable tab audio instead.
Black or blank screen shown to participants: Disable hardware acceleration in browser settings, switch to a different browser, or update the graphics drivers on the device. On some systems, playing DRM-protected content produces a black screen when shared.
Screen sharing freezing or lagging: Reduce other network activity, switch to a wired connection, close unused applications, and lower the video quality in Meet settings. Reducing the number of participants with cameras active also reduces bandwidth demand.
Browser compatibility: Google Meet performs best on Chrome and Edge. Some features including tab audio sharing may not be available in other browsers. If a specific feature is not appearing, switching to Chrome typically resolves it.
Screen Sharing Tips for Zoom and Google Meet
Preparing properly before sharing reduces interruptions and makes the presentation clearer for participants.
Open all files, tabs, and applications before the meeting starts so no loading delays occur while sharing.
Close applications and tabs that are not needed during the presentation to reduce visual clutter and system load.
Enable Do Not Disturb or mute system notifications before sharing to prevent personal notifications from appearing to participants.
Use window sharing instead of full screen when content stays within a single application and privacy is a concern.
Test audio sharing before the meeting by sharing a tab with the audio toggle enabled and asking a colleague to confirm the sound is audible.
Use the Zoom whiteboard or annotation tools when the presentation benefits from live markup rather than static slides.
For teams that regularly conduct presentations and collaborative sessions, Smart noter's meeting summarizer captures what was discussed during screen sharing sessions and produces structured meeting notes automatically. The recording feature preserves the full session so decisions made during shared document reviews or collaborative walkthroughs are documented accurately for participants who join asynchronously.
Zoom vs Google Meet Screen Sharing: Key Differences
Both platforms support the same three sharing options at a basic level, but they differ in several specific capabilities.
Audio sharing: Zoom includes a Share sound option for all sharing types, including window and full screen sharing on both Windows and macOS. Google Meet supports audio sharing reliably only through tab sharing with the Share audio toggle enabled.
Sharing options: Zoom provides Advanced options including portion of screen, second camera, and whiteboard as dedicated sharing modes. Google Meet offers only three options: entire screen, window, and tab, with no portion-of-screen capability in the standard interface.
Participant sharing: Zoom allows the host to enable or restrict participant sharing through Advanced Sharing Options in the meeting. Google Meet handles this through meeting settings and workspace permissions, but the control is less granular than Zoom's in-meeting options.
Mobile sharing: Both platforms support screen sharing on iOS and Android through their native apps. The flow is similar on both: tap a share option and grant broadcast or capture permission. iOS requires a system broadcast step on both platforms.
Multiple presenters: Zoom allows multiple participants to share simultaneously if the host enables it. Google Meet allows only one presenter at a time; a new presenter must stop the current share before beginning their own.
